Getting Started
This guide will walk you through creating your first documentation project with ezDoc.
Step 1: Open ezDoc
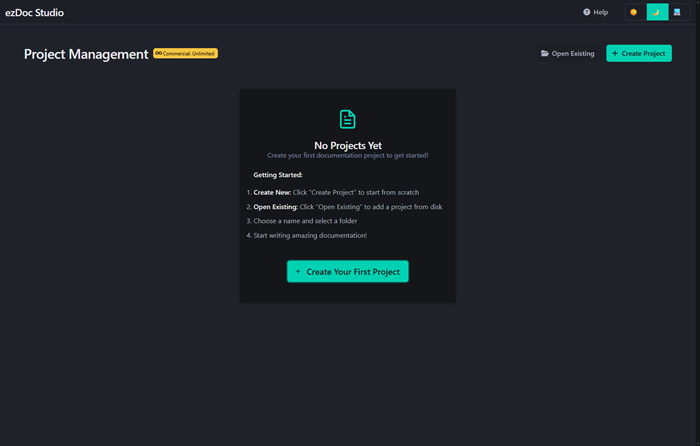
Open ezDoc in your web browser. You'll see the welcome screen with options to create a new project or open an existing one.
Step 2: Create a New Project
- Click the "Create New Project" button
- Choose a folder location on your computer
- Enter a project name (e.g., "My Documentation")
- Click "Create Your First Project"
📁 Folder Structure: ezDoc will create a folder with your project name containing all necessary files and folders.
📁 My Project/
├── 📁 pages/              ← Your documentation pages (.md files)
├── 📁 assets/
│   ├── 📁 images/         ← Screenshots and images
│   └── 📁 files/          ← Downloadable files (PDFs, ZIPs, etc.)
└── 📁 .ezdoc/             ← Project metadata (hidden folder)
    ├── 📄 config.json     ← Project settings
    └── 📄 navigation.json ← Page order and structure
Step 3: Create Your First Page
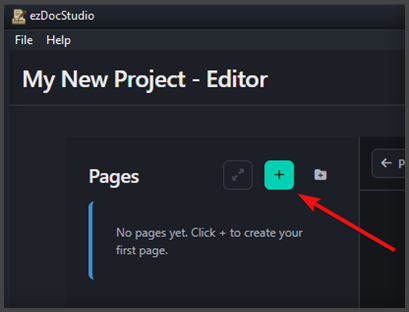
Once your project is created, you'll see the editor interface:
- Click the "+ New Page" button in the sidebar
- Enter a page title (e.g., "Introduction")
- Start writing your content!
Step 4: Write Content
ezDoc supports two editing modes:
Markdown Mode (Default)
Write using simple Markdown syntax:
# Heading 1
## Heading 2

**Bold text** and *italic text*

- Bullet point 1
- Bullet point 2

[Link text](https://example.com)
HTML Mode
Switch to HTML mode for more control:
<h1>Heading 1</h1>
<p>Paragraph with <strong>bold</strong> text.</p>
Step 5: Format Your Text
Use the toolbar buttons to format text:
- H - Headings
- B - Bold
- I - Italic
- U - Underline
- S - Strikethrough
- 💬 - Comment
- ≡ - Bullet list
- ≡ - Numbered list
- ≡ - Align text
- — - Horizontal rule
- </> - Code block
- 🔗 - Insert link
Step 6: Preview Your Page
Click the "👁 Preview" button to see how your page will look when exported.
Step 7: Save Your Work
ezDoc auto-saves your work every 30 seconds, but you can manually save anytime:
- Click the "💾 Save" button
- Or use Ctrl+S (Windows) / Cmd+S (Mac)
Step 8: Add More Pages
Build out your documentation by adding more pages:
- Click "+ New Page"
- Organize pages with categories (see Using Categories)
- Reorder pages by dragging them in the sidebar
Step 9: Export Your Documentation
When you're ready to share:
- Click "📤 Export Project"
- Choose an export location
- Wait for the export to complete
- Open the exported folder to view your documentation website!
Step 10: Backup Your Project List
Protect your project list from data loss:
- Click the "Backup" button on the main screen
- A JSON file downloads automatically
- Store it in a safe location (cloud storage, external drive)
Why backup?
- Transfer projects to new computer
- Share project lists with team
When to backup:
- After creating new projects
- Regularly (weekly/monthly)
- Before computer migrations
💾 Pro Tip: Store backups in cloud storage (Dropbox, Google Drive) for access from anywhere!
Next Steps
- Learn about Managing Pages
- Organize content with Categories
- Add Images to your documentation
- Explore Bulma Elements for rich layouts
🎉 Congratulations! You've created your first ezDoc project. Keep exploring to discover all the features!